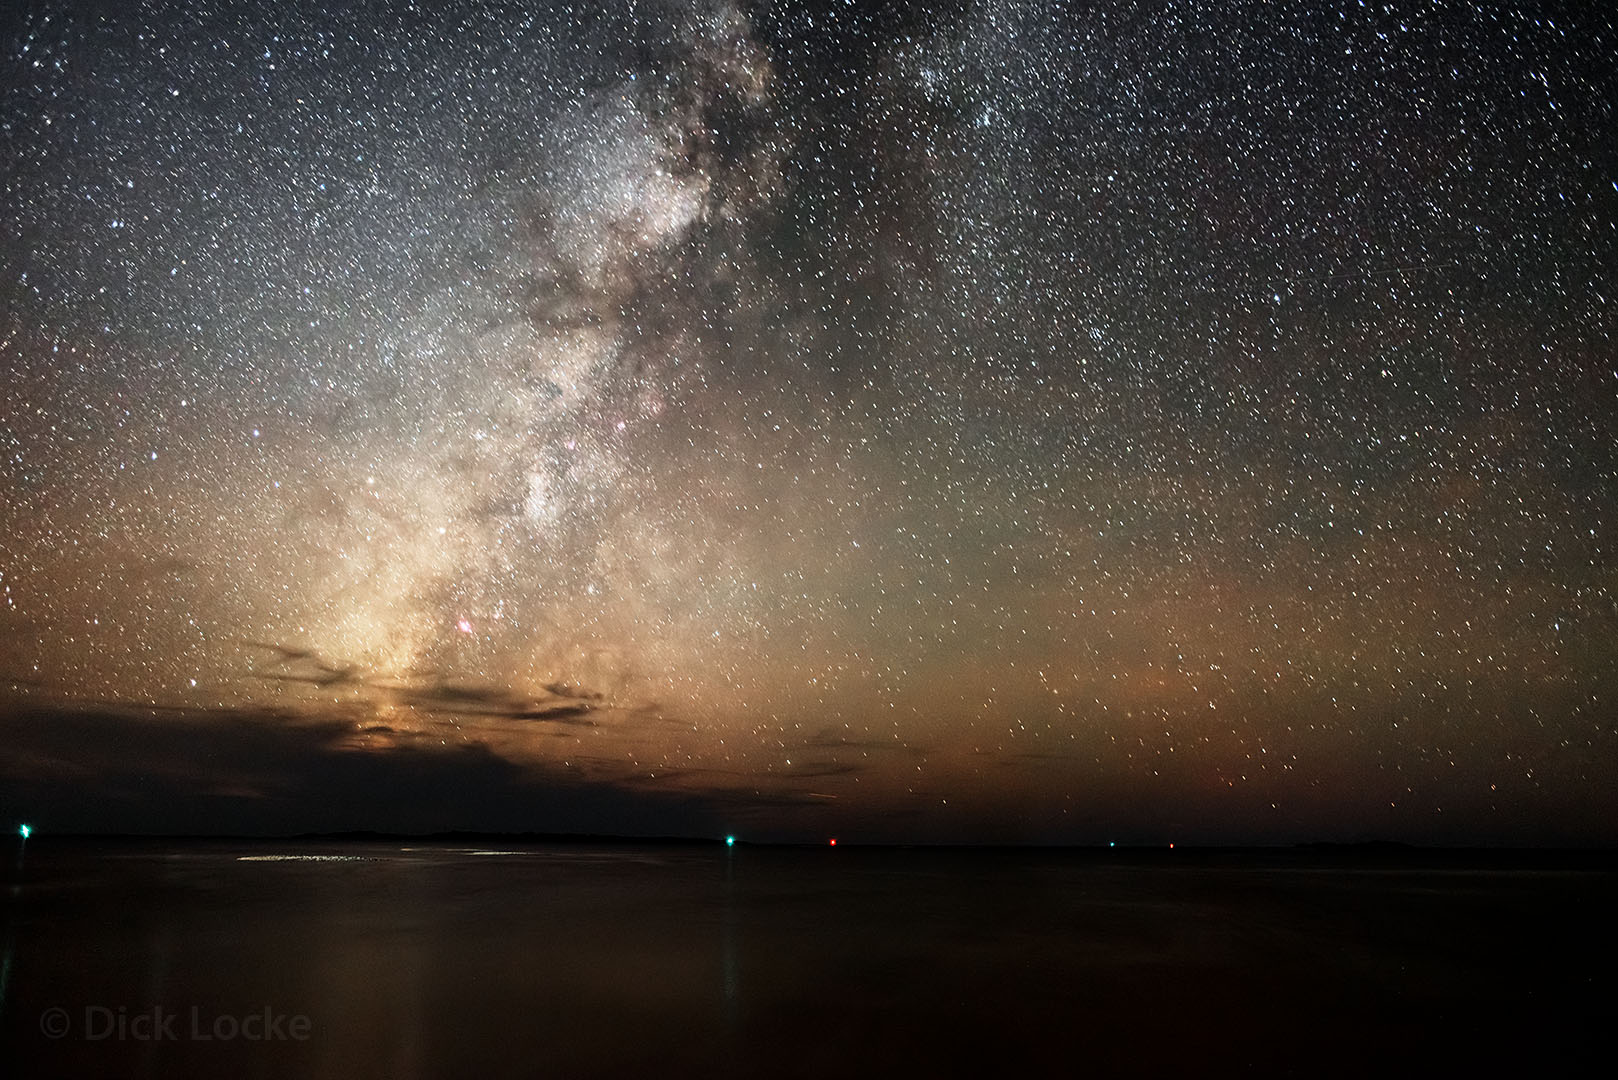
Milky Way Time-lapse - Gulf of Mexico from Cedar Key, November 3, 2018
I didn't know this when I started with my day-to-night time lapse attempts, but getting a smooth day to night time-lapse video is considered the "Holy Grail." There are bulb ramping or exposure ramping products that aim to help with this. See the end of this page for some references. My work done so (summer 2015) far relies on me manually changing from auto to timed exposures when it just gets dark enough.
The videos below are composed of 100's (usually more than 1000) of detailed, high-megapixel frames. Be sure to watch the HD versions, full screen, to see all the detail. Shooting details are on the YouTube pages. See my cookbook for creating time lapse videos from DSLR images at the bottom of the page.
Daylight pictures from the
Florida trip are here.
I was able to get a narrowband Fox Fur nebula image done using images from the night show above & the previous night.
The star trails video is from Starry Nights, Wimberley, TX, December 2012. This Star Trails movie covers about 8.5 hours and shows the area around Polaris, the North Star. There are some plane trails as well! Individual images are 5 minutes each using a Canon 20Da camera and a Canon 50mm f1.8 lens at f2.8, ISO 1600, from the Starry Nights B&B near Wimberley Texas. I used ImagesPlus to develop and dark-subtract the raw files, then Lightroom to adjust (cool) the color balance. Startrails.exe was used to create the cumulative images and Photoshop CS6 at 10 frames per second created the movie.
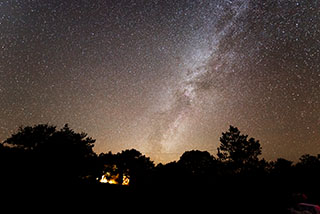
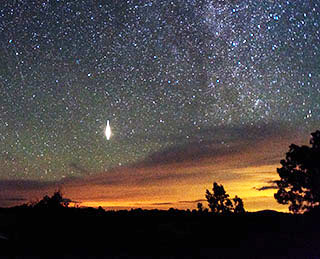
Below are my first videos and they are from from my November (Fall) 2012 Davis Mountains trip. This was a fairly cloudy trip so I took the opportunity to try my hand at creating some time-lapse videos with my DLSR cameras.
Main West Texas Scenic Picture Page is here
Dick Locke's Astrophoto Gateway page....
Images Home
Contact and Image Use Information
http://www.youtube.com/user/rtlocke
Here are some links on how to do this
1. A Simple Tutorial is at the link.
Here's a recipe using Photoshop CS6. Lightroom 4 was easier but they screwed it up in v5 plus.
The photo name must be in exact sequence or this won't work
If you need to rename them in sequence, open Bridge. Select all, batch rename.
Start Photoshop
In Photoshop, open the first file in the sequence, making certain to click the "Image Sequence" button on the lower left.
Export the video
Set the frame rate - use 30 frames per second if you have lots of images
Keep your fingers crossed, as I get strange behavior sometimes.
Here's how to use Adobe Lightroom - Note, works with Lightroom 4 and below. Apparently newer versions of Lightroom screwed this up. I wasted a lot of time figuring this out!
Take some cool DSLR shots
Rename the files so they are named in the sequence desired for the video if needed (Photoshop wants sequential file names)
Convert the images to .jpg format if needed
Get LRTimelapse for Lightroom. This link may work. I think this is an old version and the thing is now a commercial product with a demo version. Google it and you can sort out what's happening. I may go for a paid version after more research.
Import the collection into Lightroom
Edit as needed
Go to the Slideshow function and select 30fps Timelapse
Select music, if desired. Trim the music to the length of the video before selecting the music for best results.
Export the Video
LRTimelapse is now a slightly pricey (100 to 250 euros) commercial product that works with Lightroom
QDSLR Dashboard provides a free software control for tablets or PCs that manages exposures
Promote remote controls are even pricier ($330 plus)