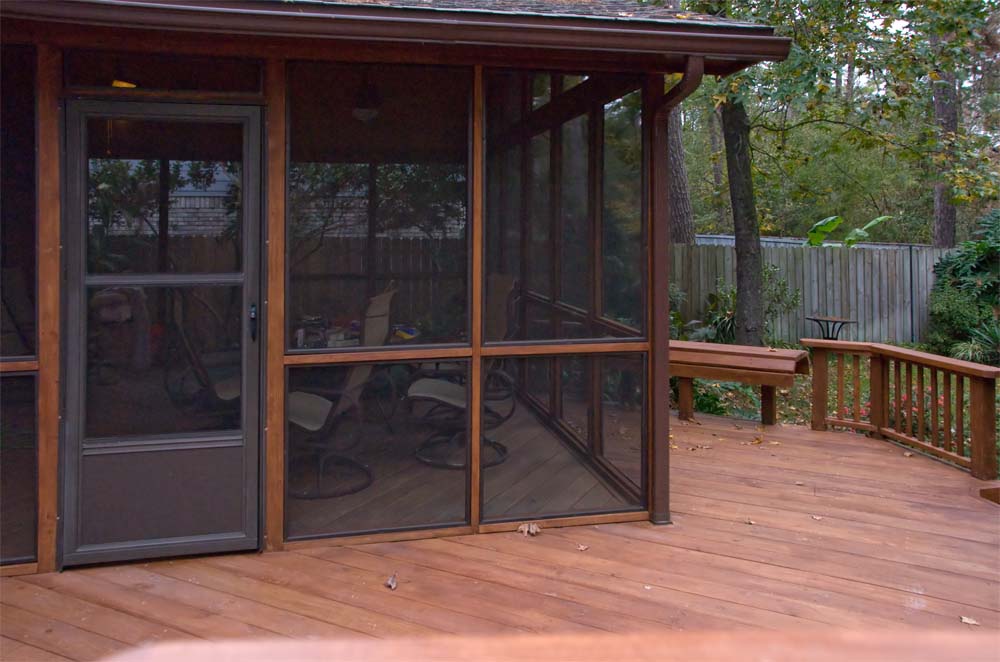
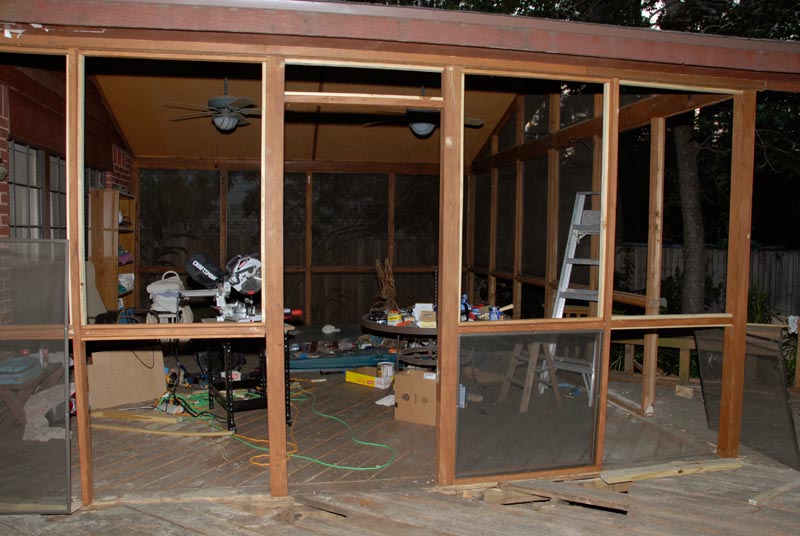
Done! Door Hung, All Screens in Place
Some Pics from the Deck & Porch Repair, from newer to older. It started with the rotting cedar on the porch, and fixing that evolved into re-doing the entire wood deck as well. I've declared the deck & porch work "done" as of 11/29/2009 at 4 p.m.! It took 3 and 1/2 months all told.
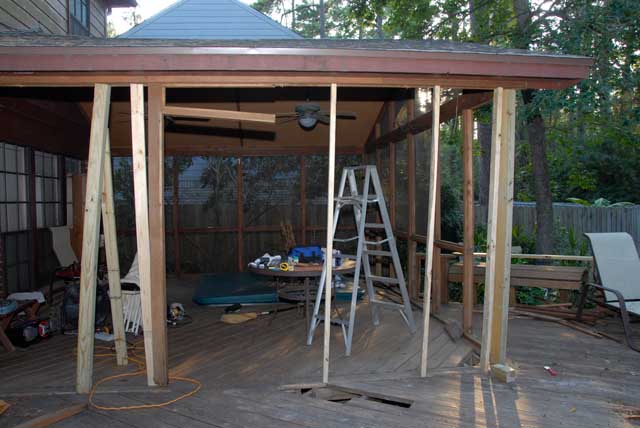
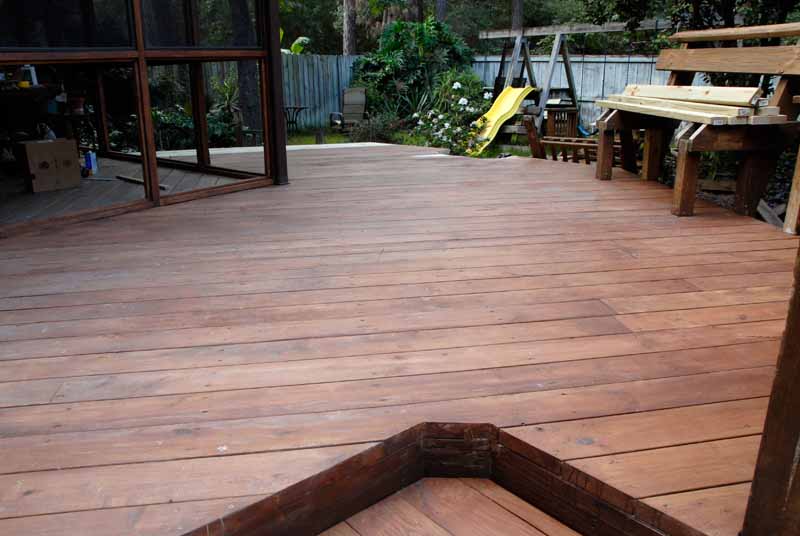
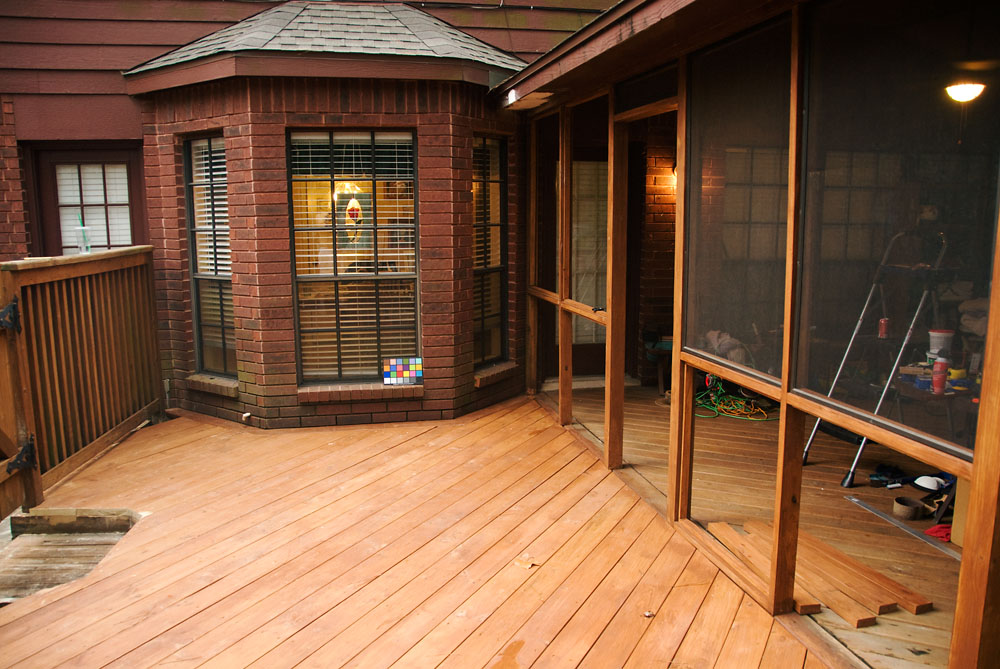
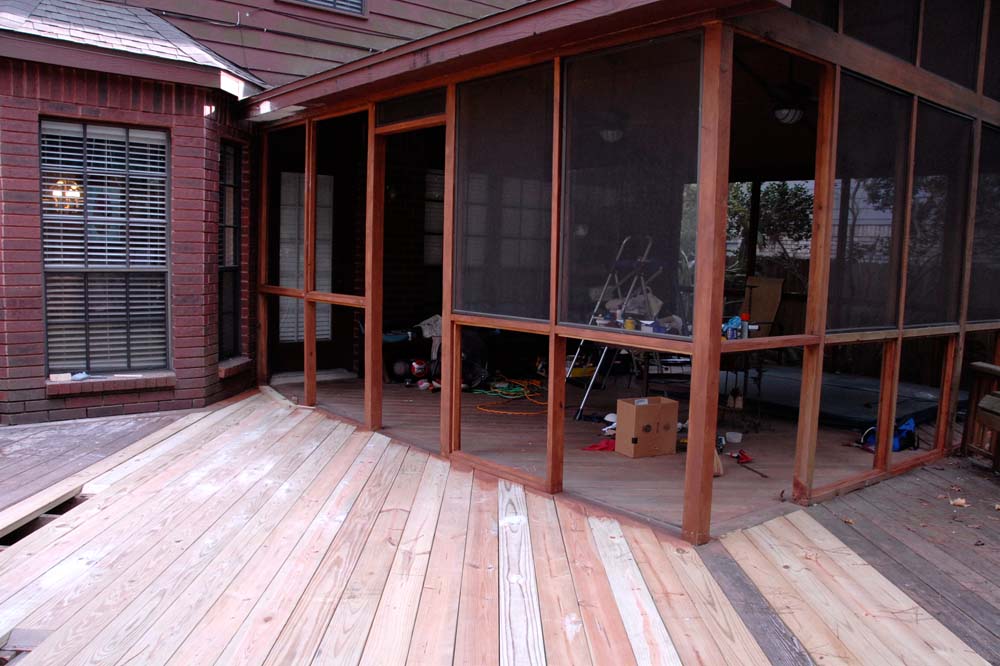
Major construction on the deck is pretty much done. Still working on the covered porch area, you can see the primer on the ceiling by the door, upper mid-right area.
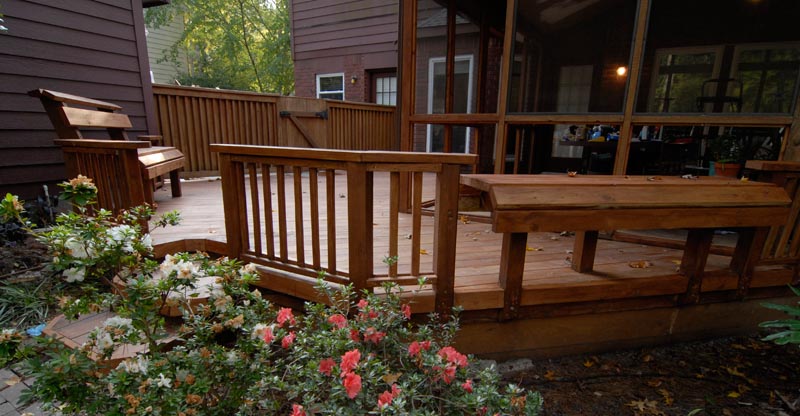
The benches and 2x4 trim are completed. Still need to stain the old fence (the old 4x4 on the right doesn't like quite as nice as everything else.
Nov 8th, 2009. Had some great weather on Saturday and decent on Sunday. I'm definitely on the home stretch; after this weekend it's pretty much finishing the trim boards and staining. Regarding the stairs, these are the "little" things that slow you down! Dealing with these stairs took the better part of a day. I counted 29 individual pieces of wood just for the stairs and trim, making 58 cuts at least counting the two ends. Not to mention the angle cuts that I'm doing for the first time.
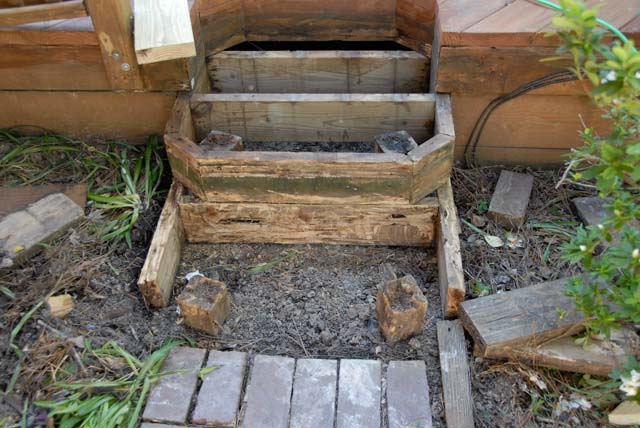
The stairs are on the north side of the house, meaning they get little or no sun and tend to stay wet. The surface boards were in pretty bad shape, as were the missing boards supporting the last step. I replaced the missing boards, added another board to shore up the bottom horizontal board, and treated everything with a healthy dose of wood preservative.
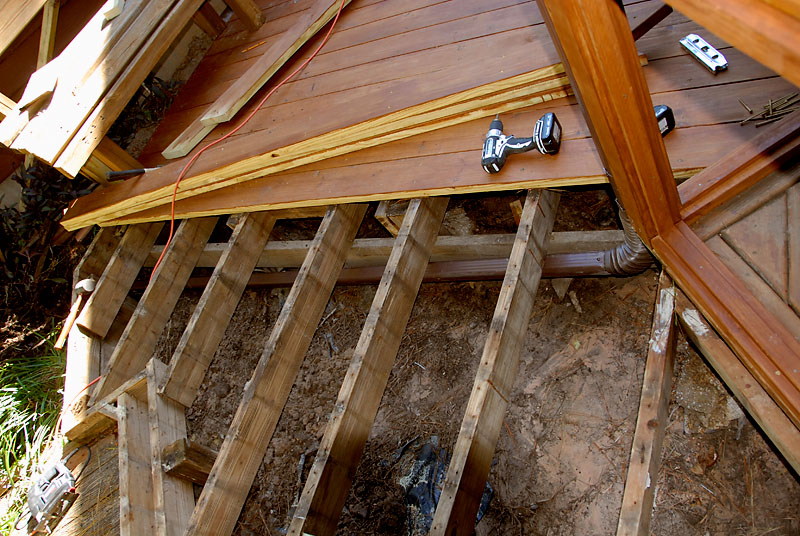
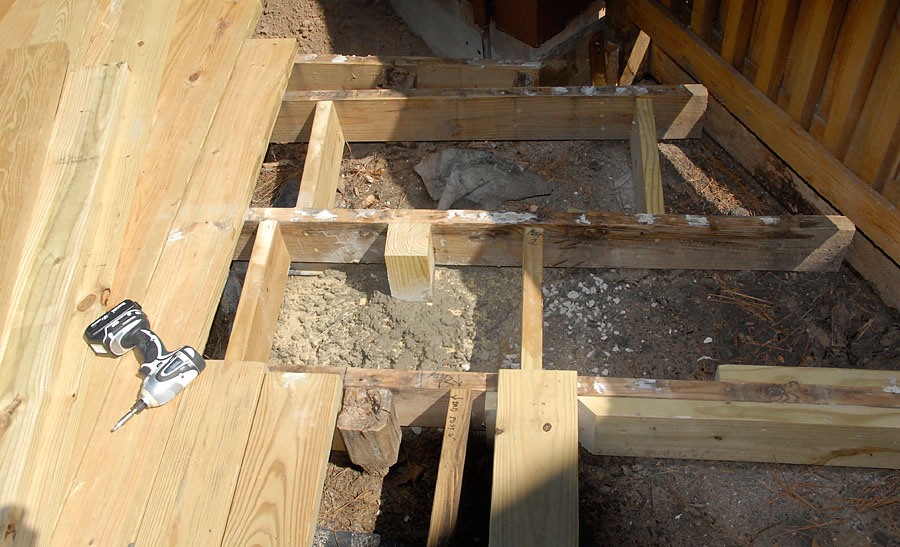
Things have to be done in a certain order; I had to figure out a way to run a gutter under the deck before screwing everything down. A little flexible pipe and an 8' section of gutter did the trick. The hard part was getting the gutter section under the end of the porch. I had to dig a hole and remove a section of the deck side boards to get it to go.
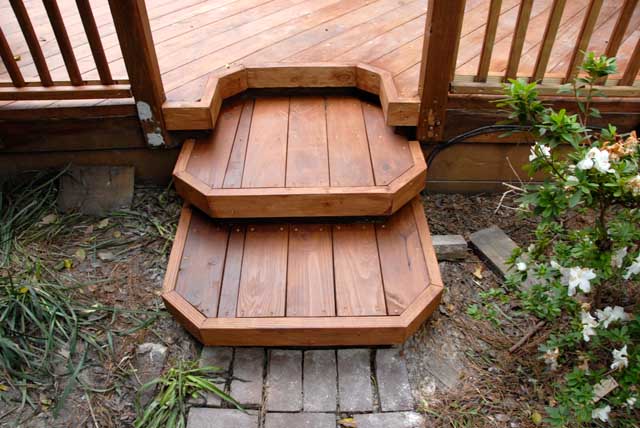
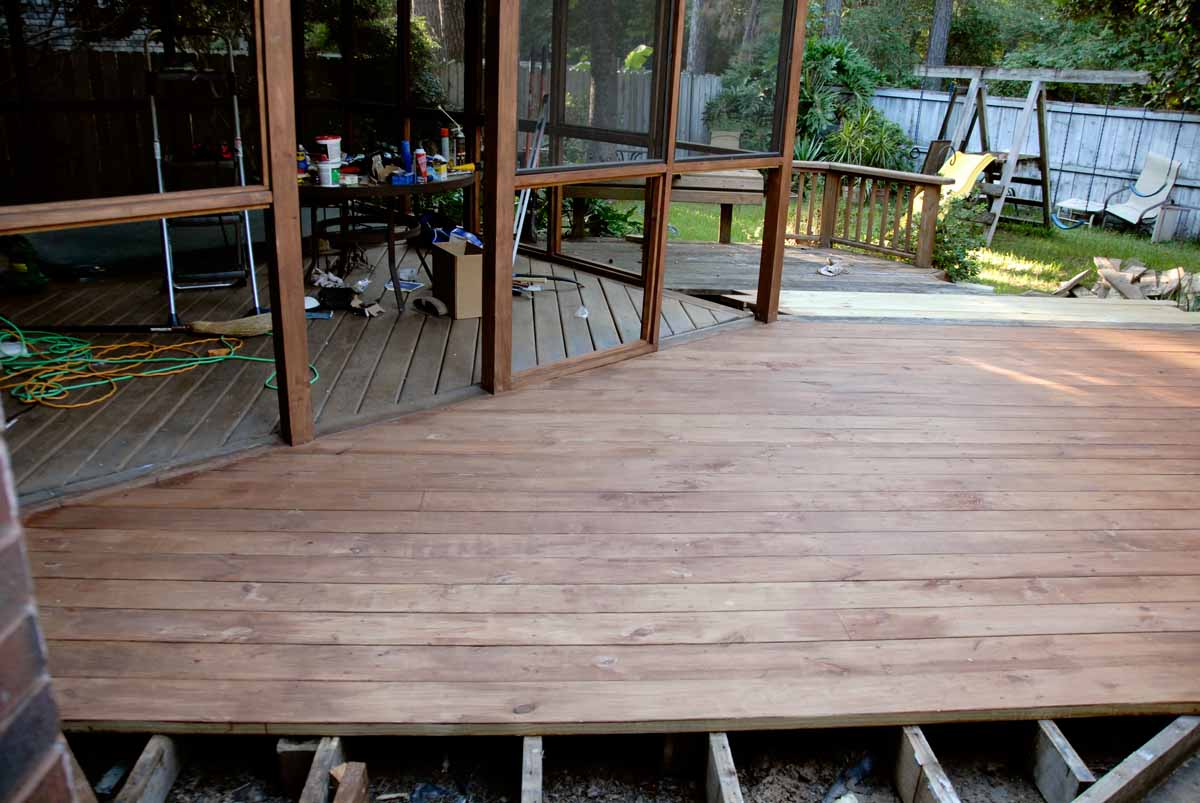
Sunday, Oct 25, 2009: All the deck boards are cut and fastened, and I've begun to put the fencing and benches back on place. I decided I needed to re-do the surface wood on all that, and you can see the cut 2x4's for the bench. Notice the step area at the bottom has new wood and the cuts are stained & looking OK. A final step will be to trim all that with 2x4's.
Did you notice the gutter? If not, good! The brown gutters sold by Lowes/Home Depot match the paint on out house pretty well. Water dripping off the roof, splashing back on the roof supports, was one of the big contributors to the wood rot that started this whole project in the first place.
I made some good progress this weekend, despite the rain. I cut and stained the area on the far left, and trimmed the tricky area around the gate. I also cut and stained the 2x4's for the bottom of the screens; they're on the lower right of the picture. Notice the color chart in the middle, I used it to help set the color balance in this image. If your monitor is accurately calibrated, you're probably seeing something close to the real colors. Pay no attention to the moss on the house. I need to get after that one of these days!
Below: I finished up some foundation reinforcement on Saturday 9/26, as started screwing down a large section. On Sunday 9/27 I finished fastening, cleaned off the chalk marks and stains, and then applied stain with Shirley's help.
Shirley and I got this deck section stained on the last Sunday in 9/2009. This section can take the longest boards.
The staining went very fast with two people. We used brushes to apply the stain. I'm staining the undersides of the boards off to the right, also, as they are very close to the ground. Ground moisture can cause problems for boards only 6" above.
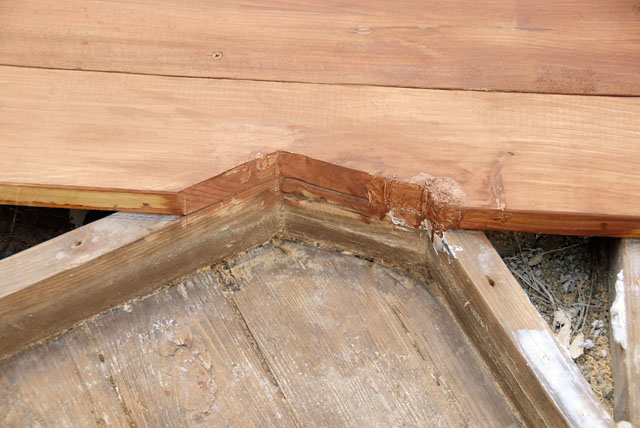
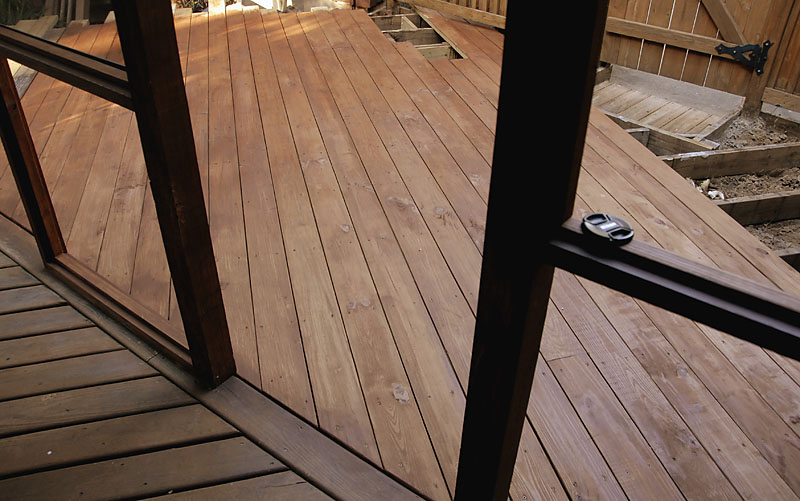
Wasn't entirely smooth on this one, cutting a little too far, so epoxy wood filler to the rescue! Sanded down it will be good on top; the edges will be hidden by 2x4 trim running along the edge of the stip.
I added a post in the middle as a couple nearby posts had turned to dust. Post hole digging is no fun, but I decided this area would benefit from some additional support! I sunk it about 2 1/2 feet, threw in some gravel, then two bags of the Quickrete fast setting cement. You set the post, throw concrete in the hole & add water, and stir. Sets in 20-40 minutes, very handy. I cut the post with a reciprocating saw, then applied some wood preservative -- nasty stuff -- to the cut post to help prevent rot. (They say you should do that on posts cut away from the end because the preservative doesn't get to the middle of the board. I've seen evidence of that with the old posts.) Then I added a couple addition braces on either side of the post to better support loads, such as the telescope, in this corner.!
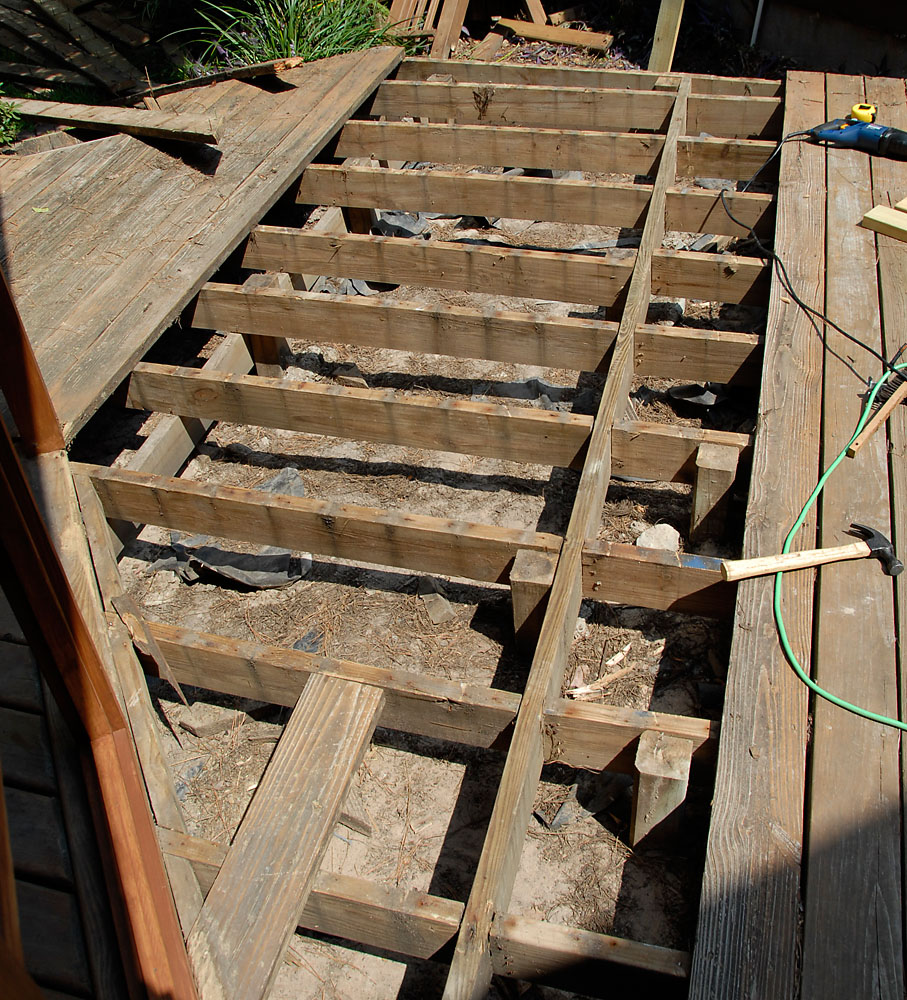
You also can see the cross-bracing I've done, and the extra support for the board on the lower right. These boards were a big rough on this area, it's close to the ground and the moisture is a challenge. I did some bondo all purpose putty on the nail holes to reinforce the wood to better hold the forthcoming deck screws.
I didn't do a very good job of color correcting this, but you get the idea. Doug helped me finish up the decking along this side 9/20/2009. Now everything is in place to finish framing the screens. I decided to stain the ends of all the boards before fastening them down to try to help prevent a return of the wood rot that kicked this thing off in the first place. They say to put "wet" pressure treated lumber right up against the next piece as they shrink as they dry. I had mostly dry wood, so shimmed both ends before I fastened, then again shimmed the middle to try to compensate for all the warping.
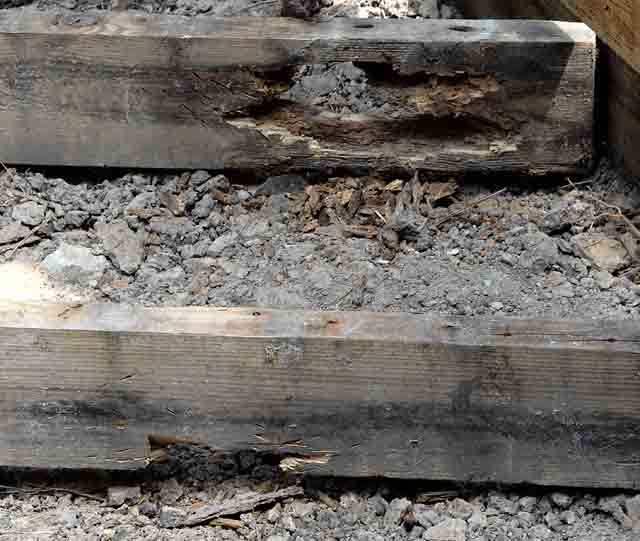
These 4x6's were in contact with the ground and I think some termites might have got after the wood. I hope the treated wood killed them ;-) See below for the fix.
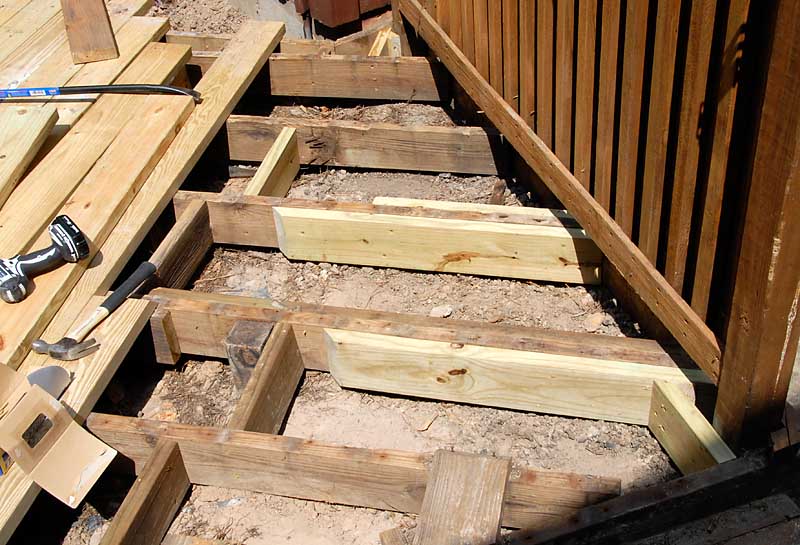
Doug and I shored up the damaged 4x6's as shown. We also tried to shore things up a bit by tying in to the fence posts, which seem to be good and solid. You can see in the mid/top of the picture where a post disintegrated (there are about 5 bent nails...)

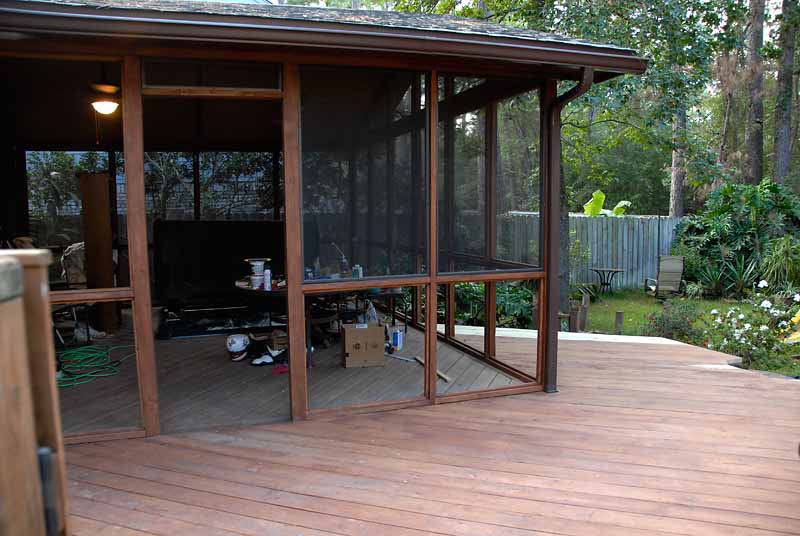
Notice the quality of the decking outside the covered area. Needed to be replaced, don't you think?
Copyright © 2009 by Dick Locke. All Rights Reserved.
Contact and Image Use Information